CNC Milling
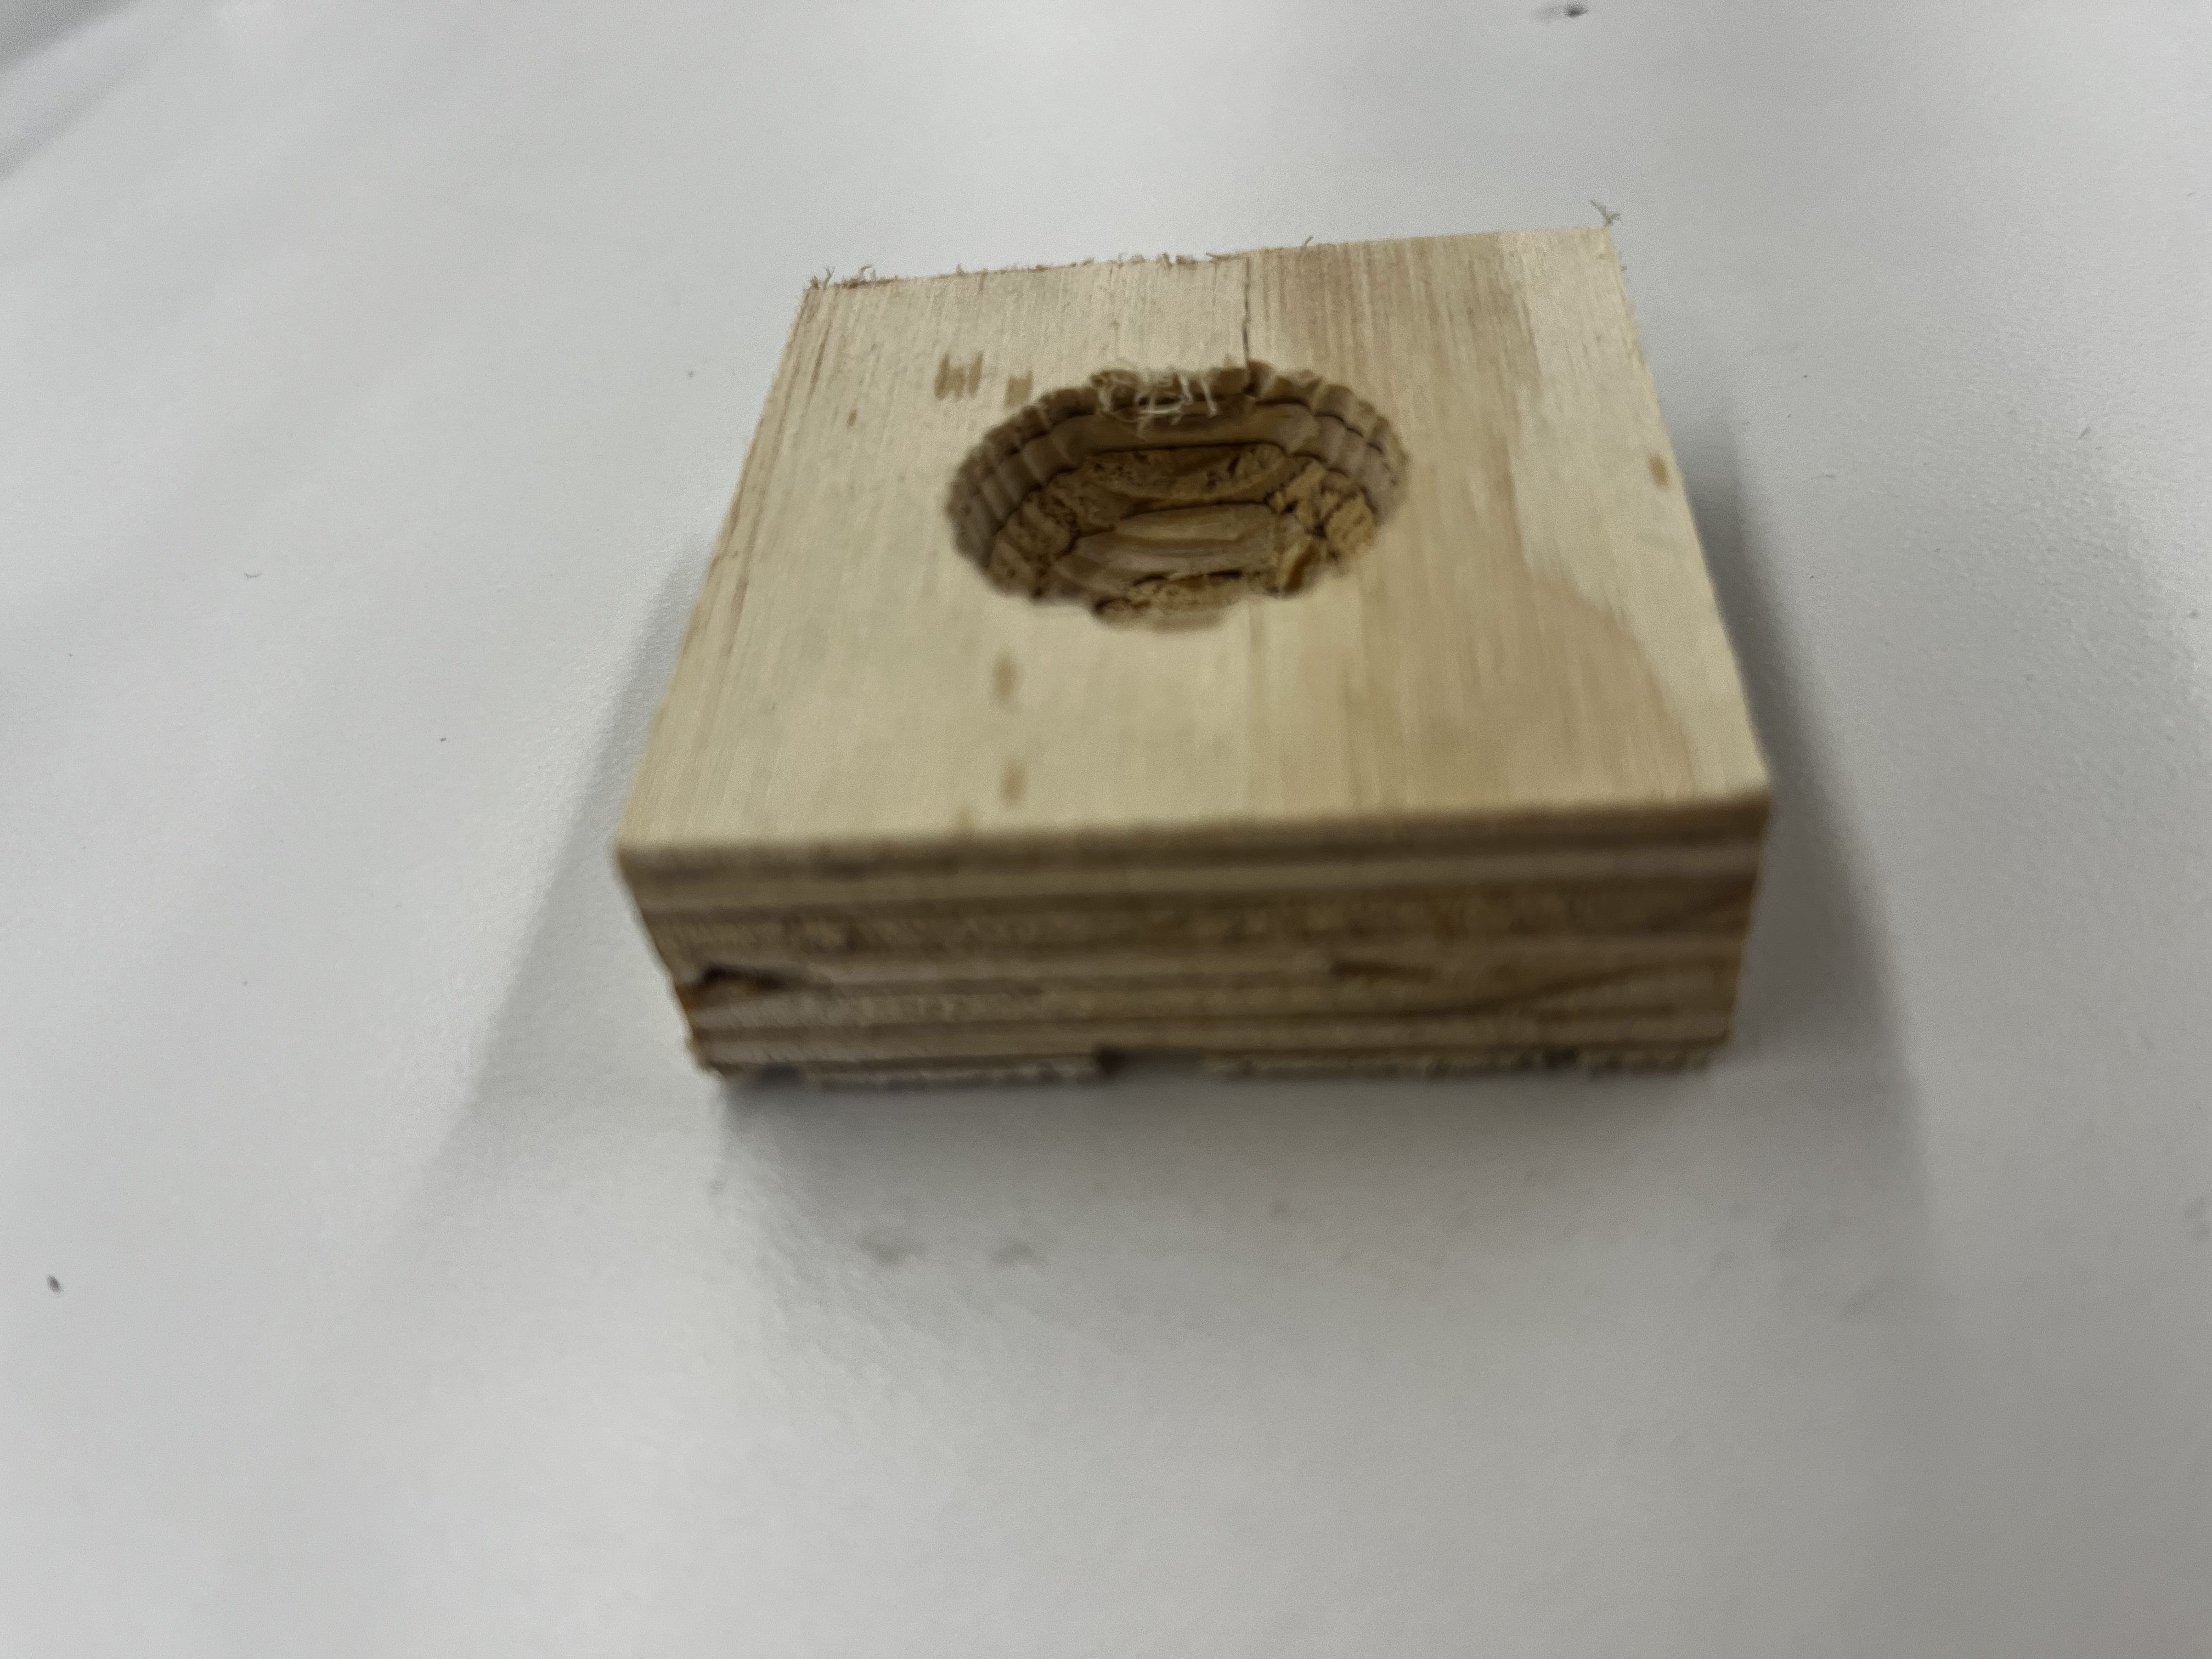
This week, I focused on three key projects. First, I crafted a pill container using the Shopbot. I began by designing a simple one hole pill box in Rhino and then exported the 3dh file as an STL. It was a challenge to operate the Shopbot with an STL file, but with Bobby's assistance, I managed to create a functional design by adding a border in the Aspire software. I aim to refine this design by implementing filleted edges instead of the current square ones for the upcoming week. This challenege was a really important one for my final project because it was a good reminder of the big difference between wood and 3d prints. Some of the designs I've been 3D printing for my final pill container will need to be reworked to be able to be succesfully cut with the shopbot.
Here's a pic of what my first draft looks like:
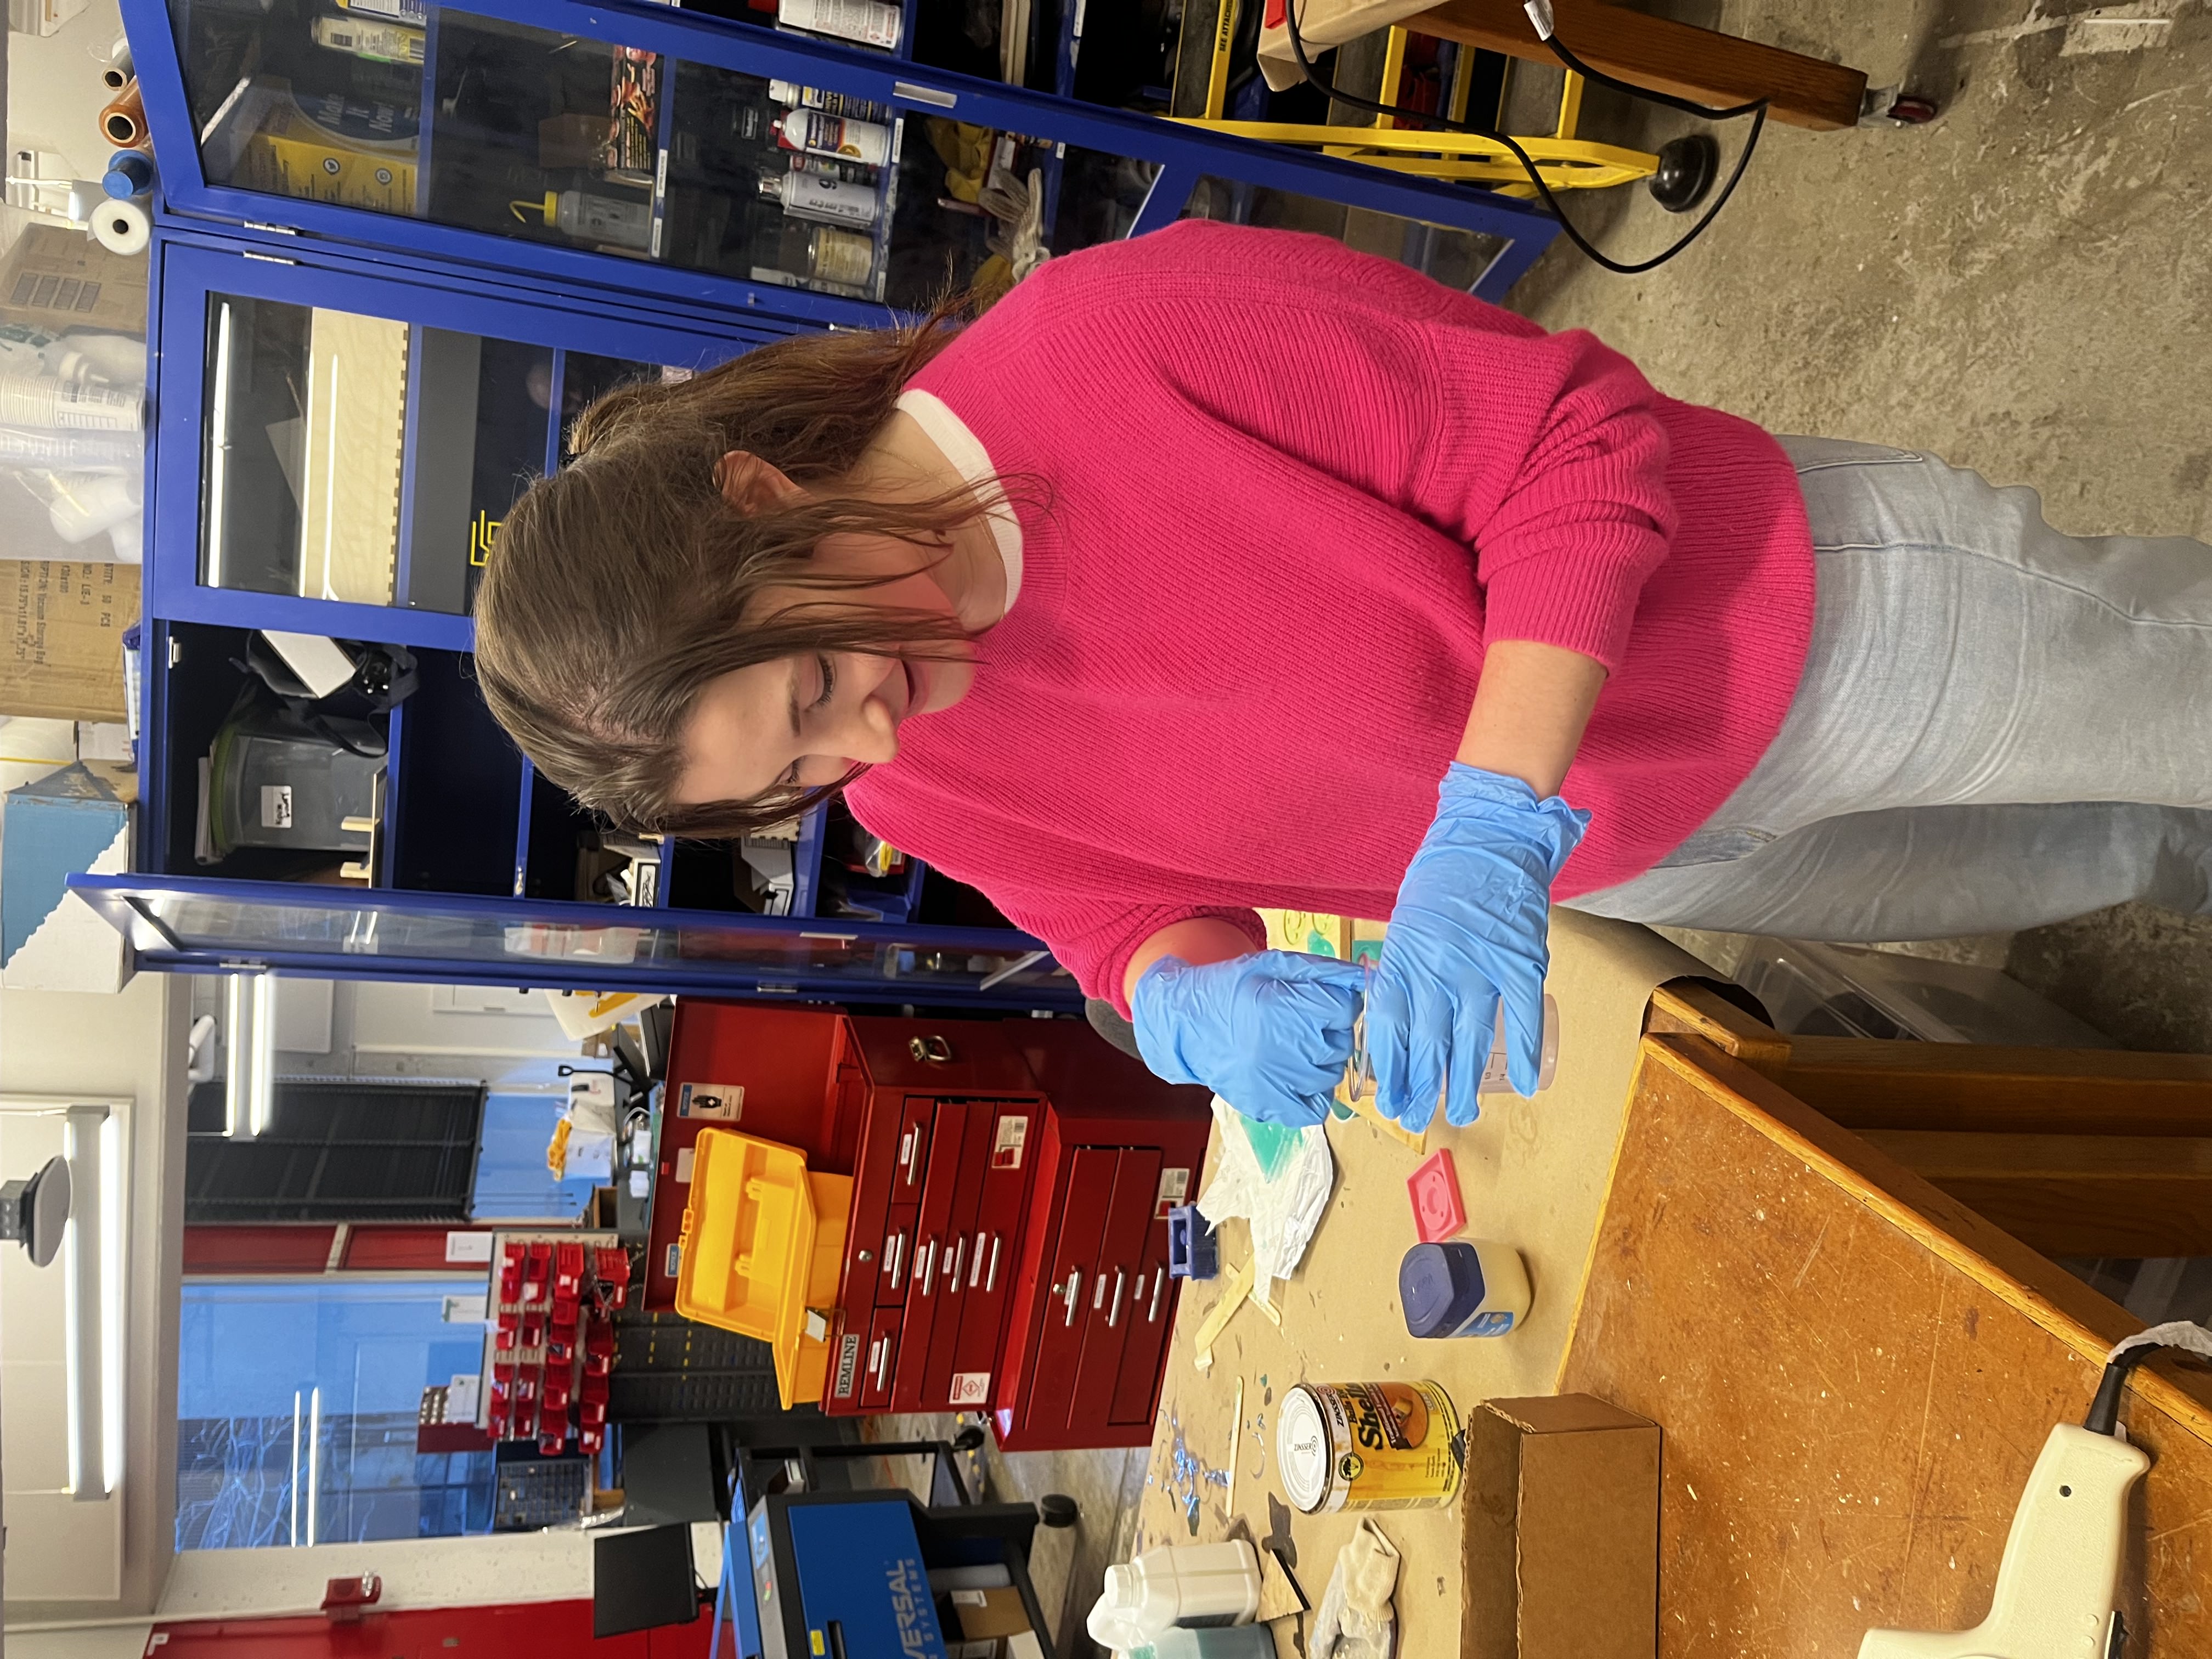
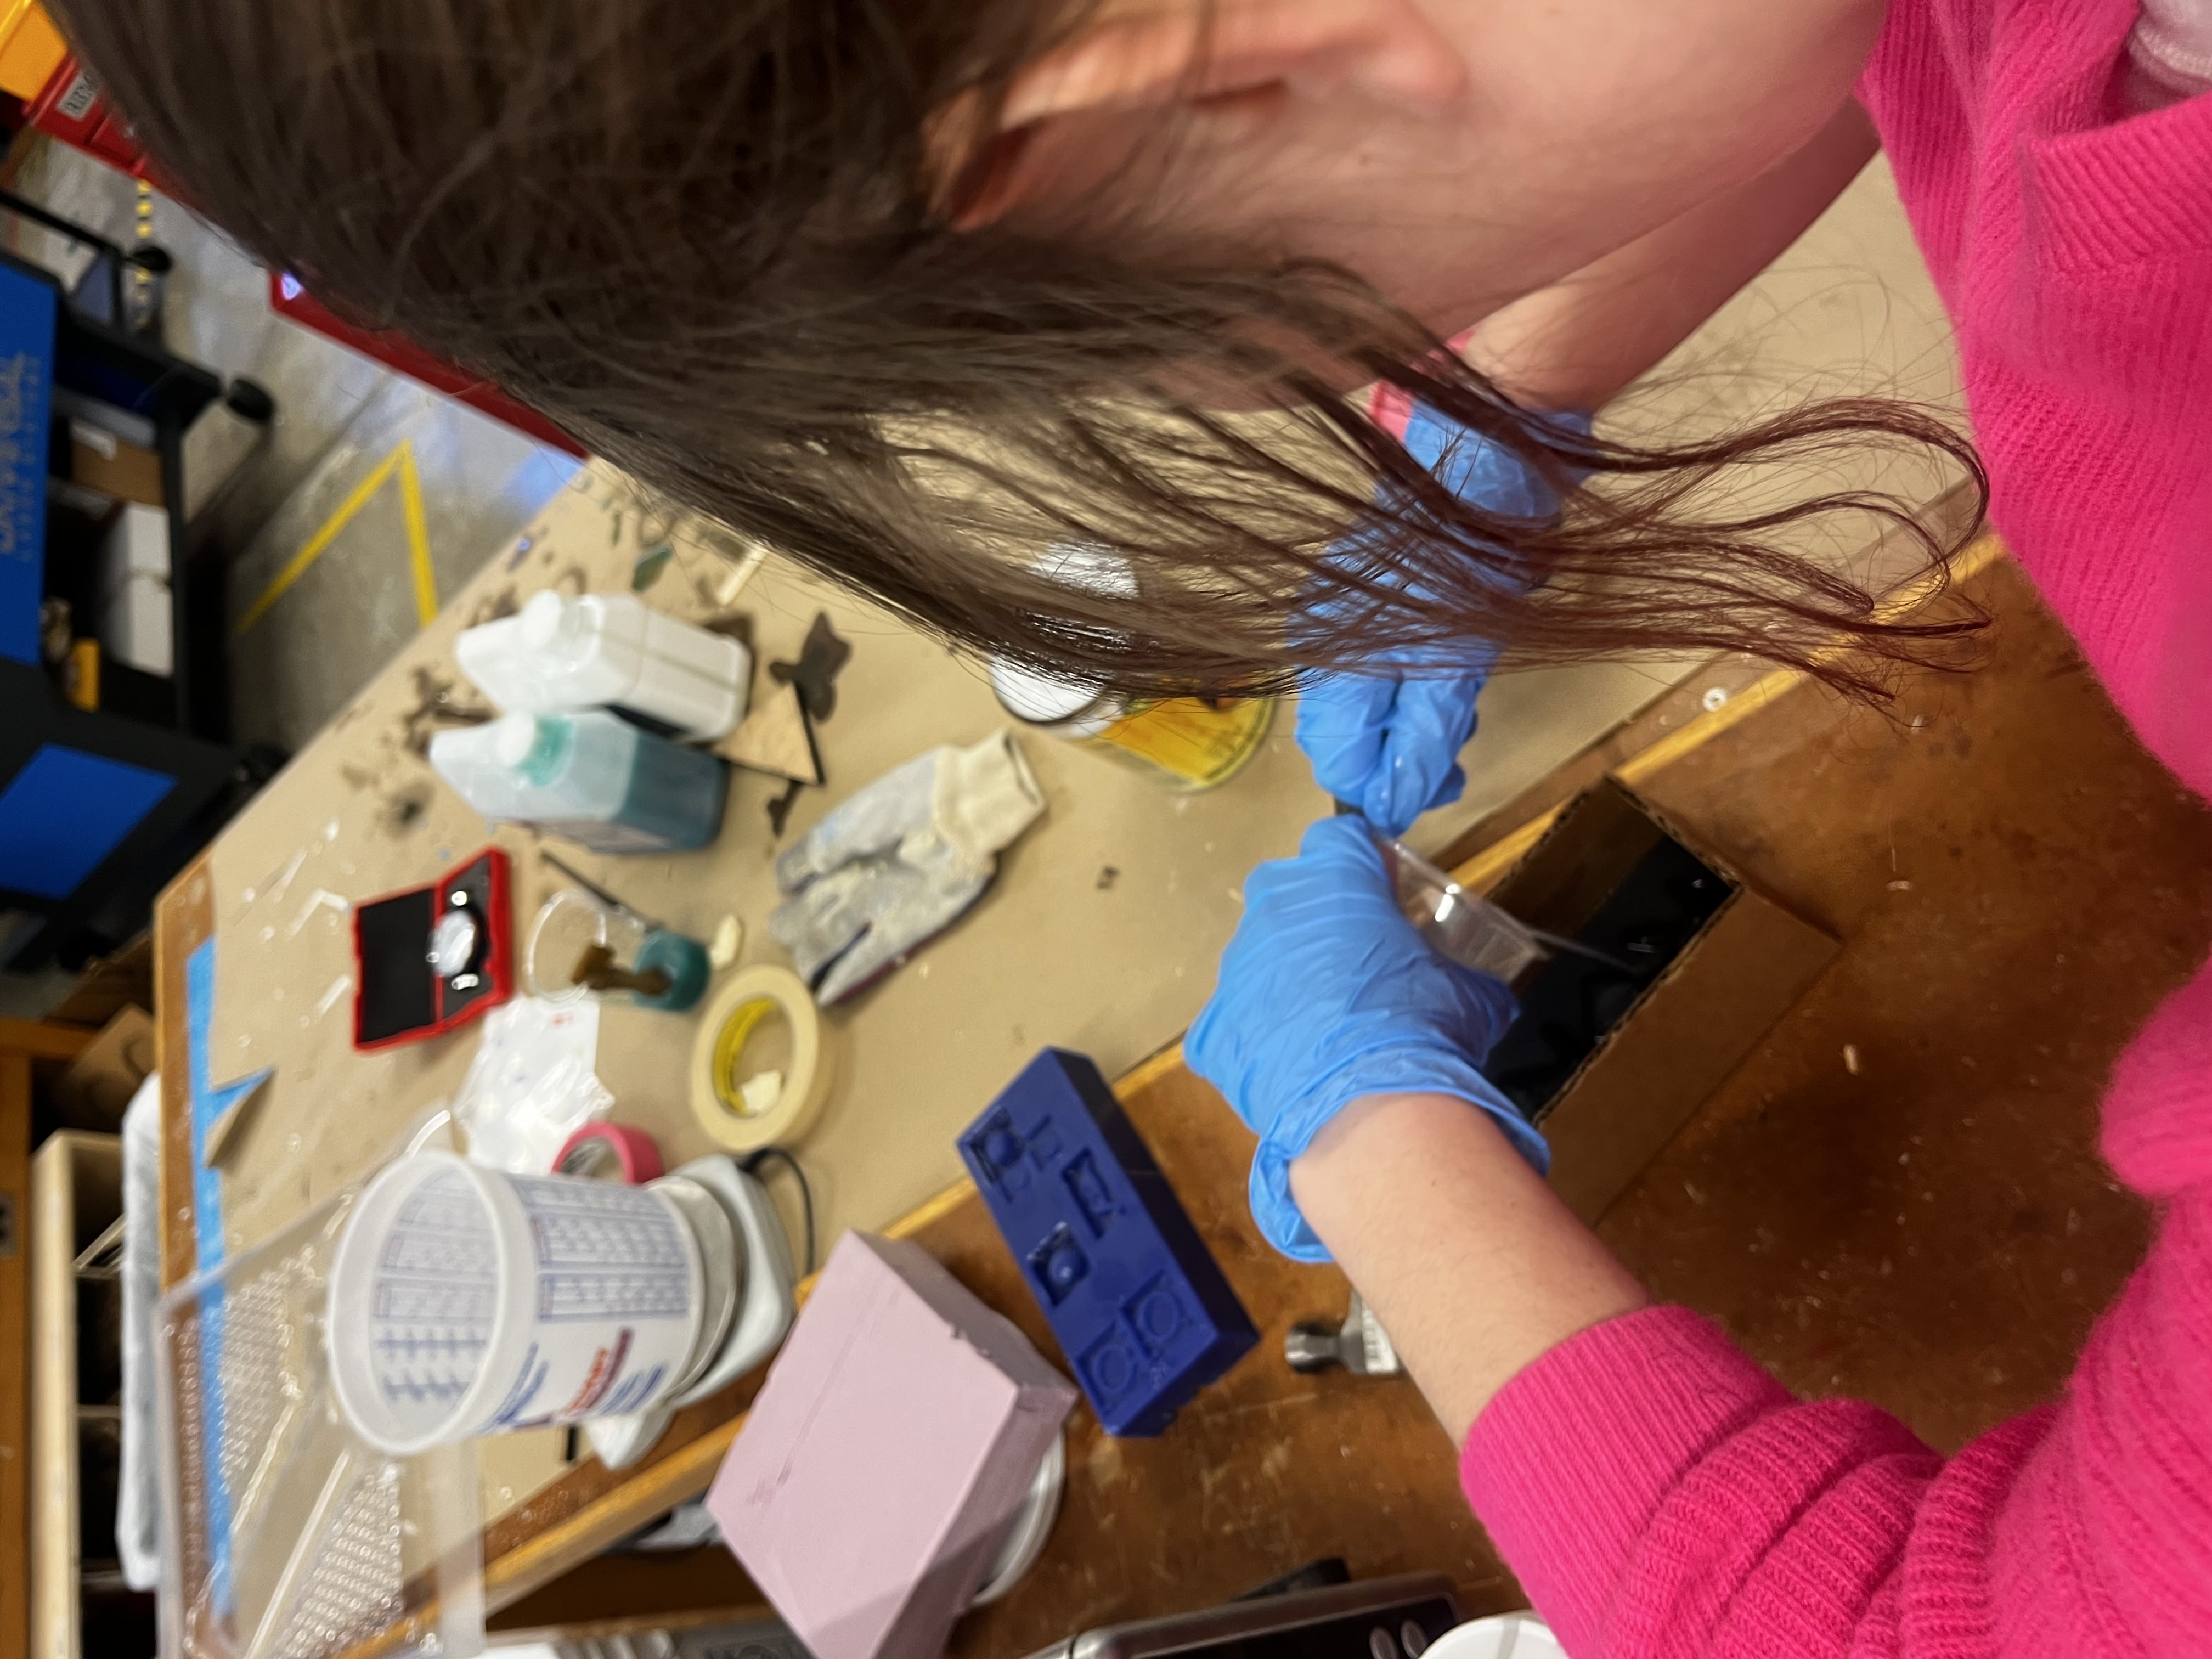
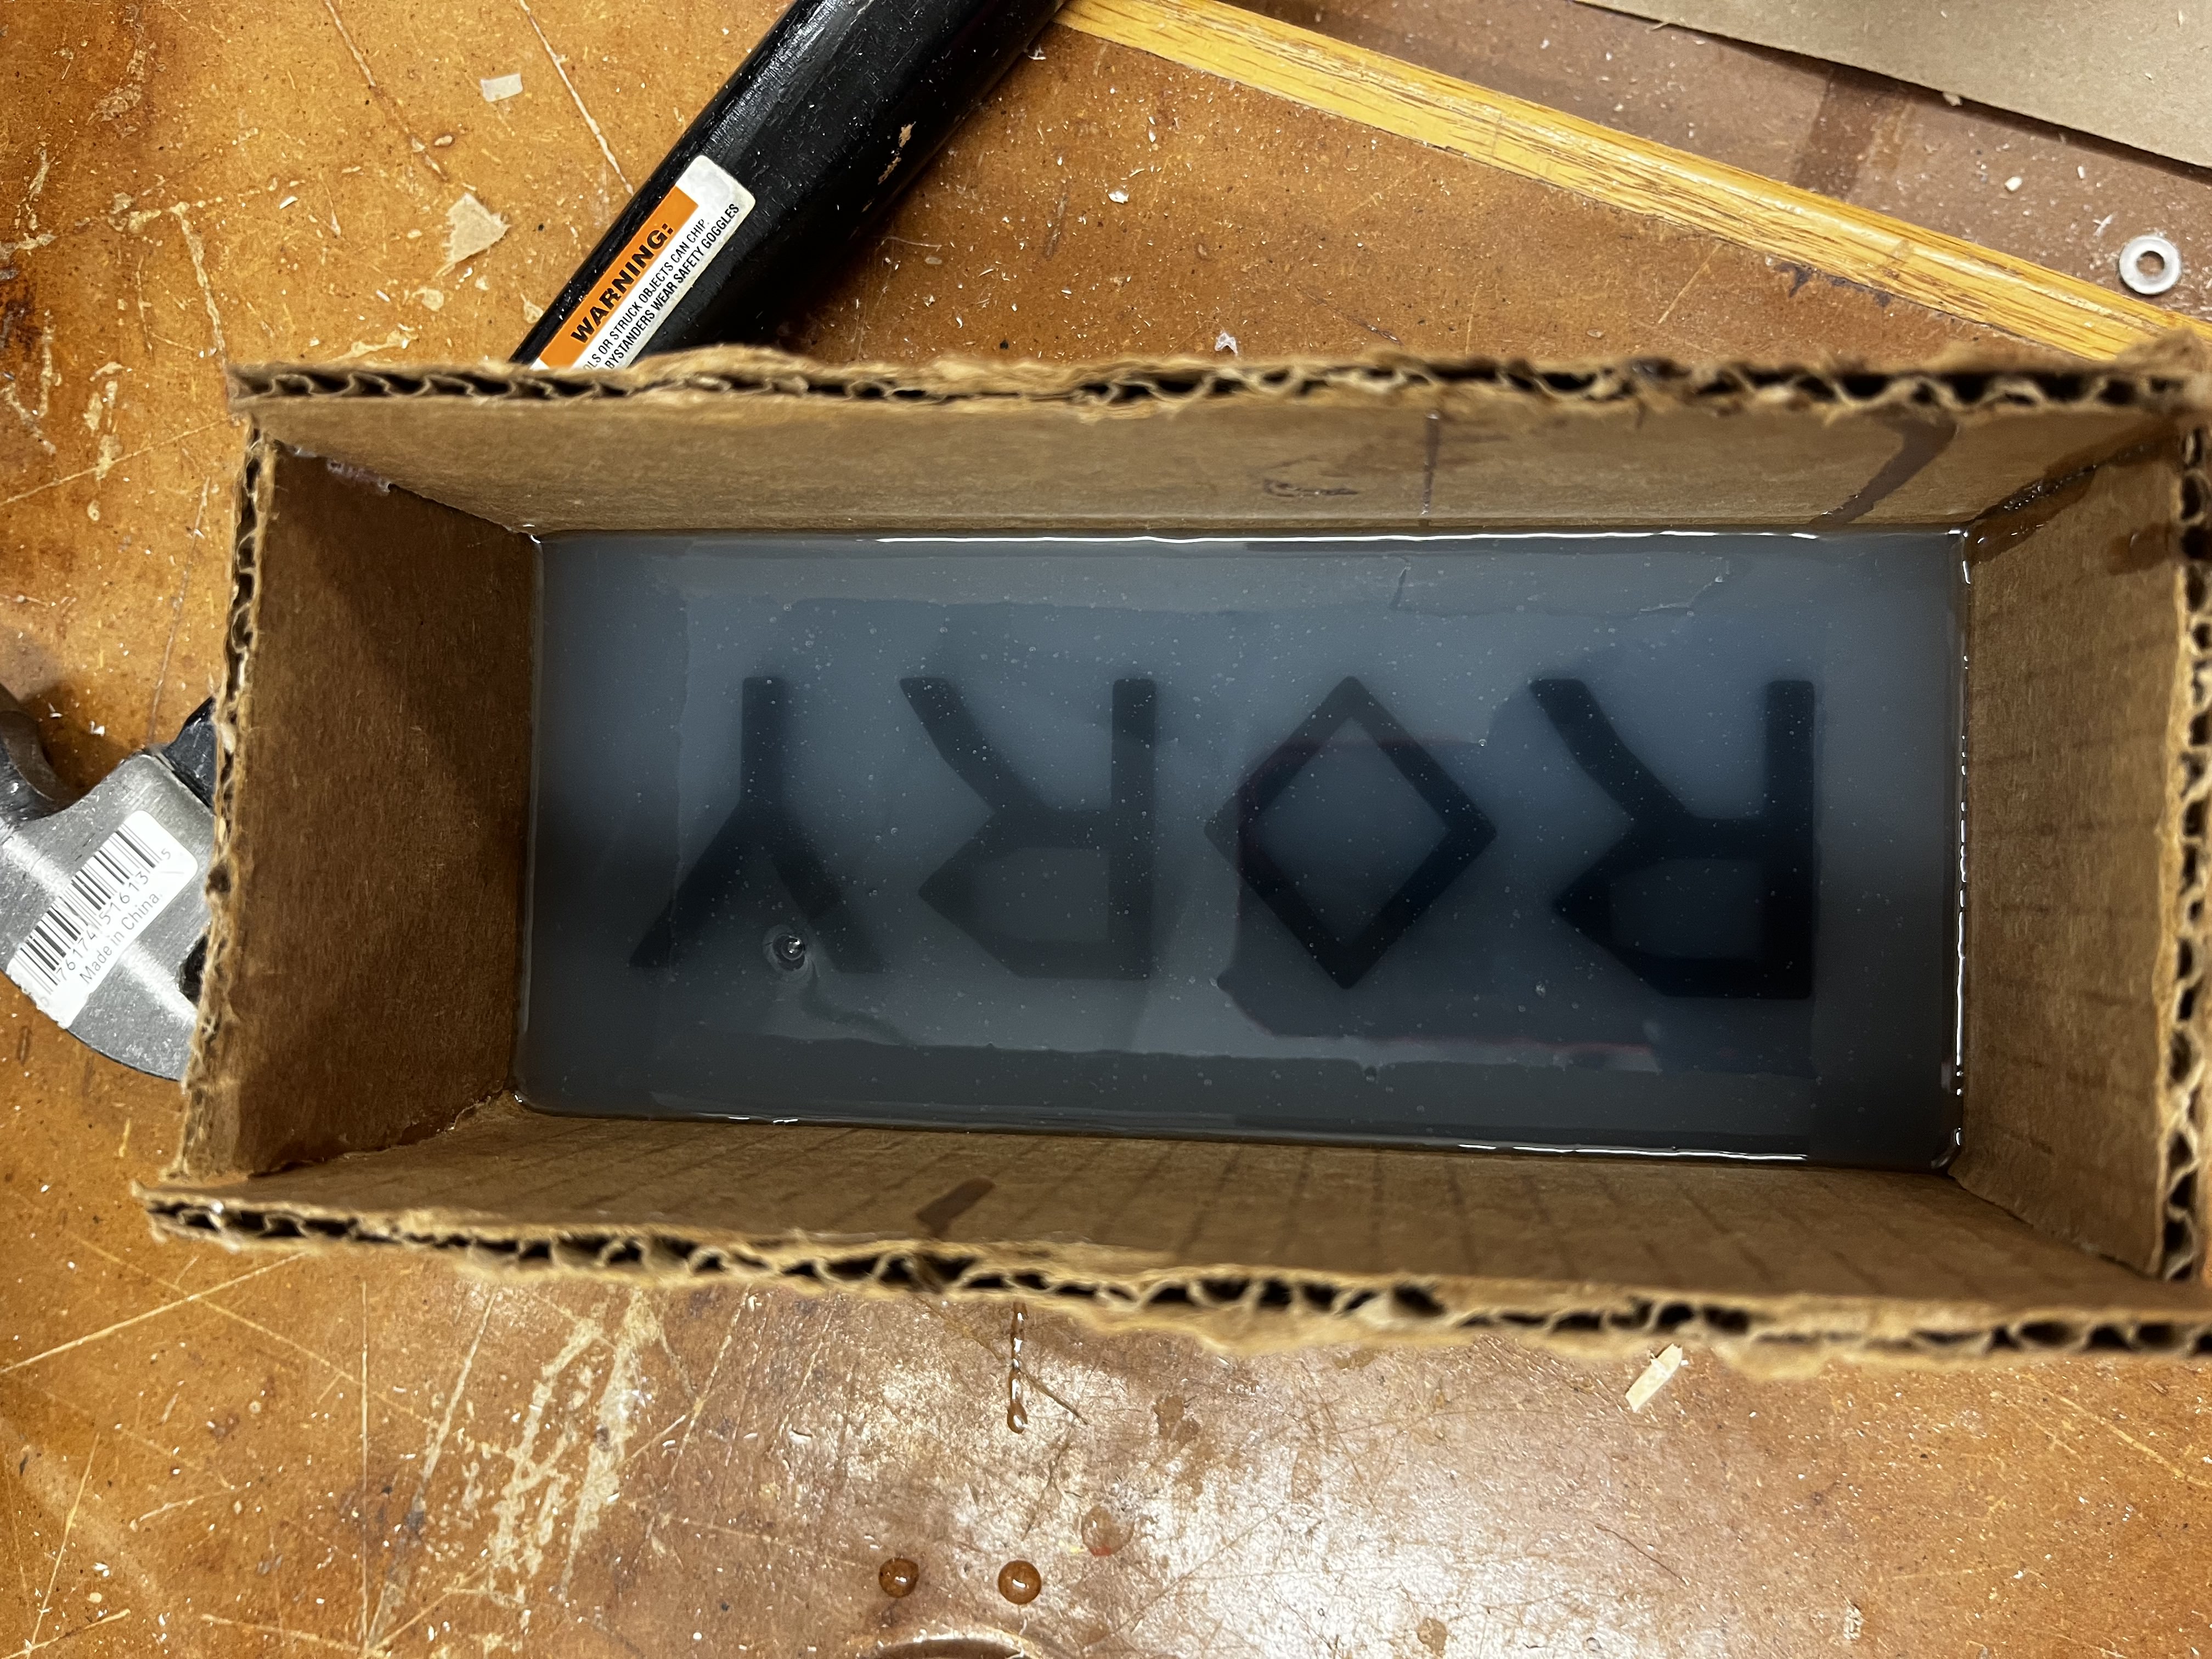
Second, for my friend Rory's birthday, I embarked on creating a personalized chocolate mold with her name engraved. Despite an initial setback due to the print not adhering properly to the print bed, the addition of a brim to the base helped stabilize the structure, and the second attempt was successful. However, I encountered another issue when the mold began leaking because I hadn't included proper borders in my design. I plan to rectify this by incorporating a 3D printed border in my next attempt.
Shoutout to Bobby for the expert photography!
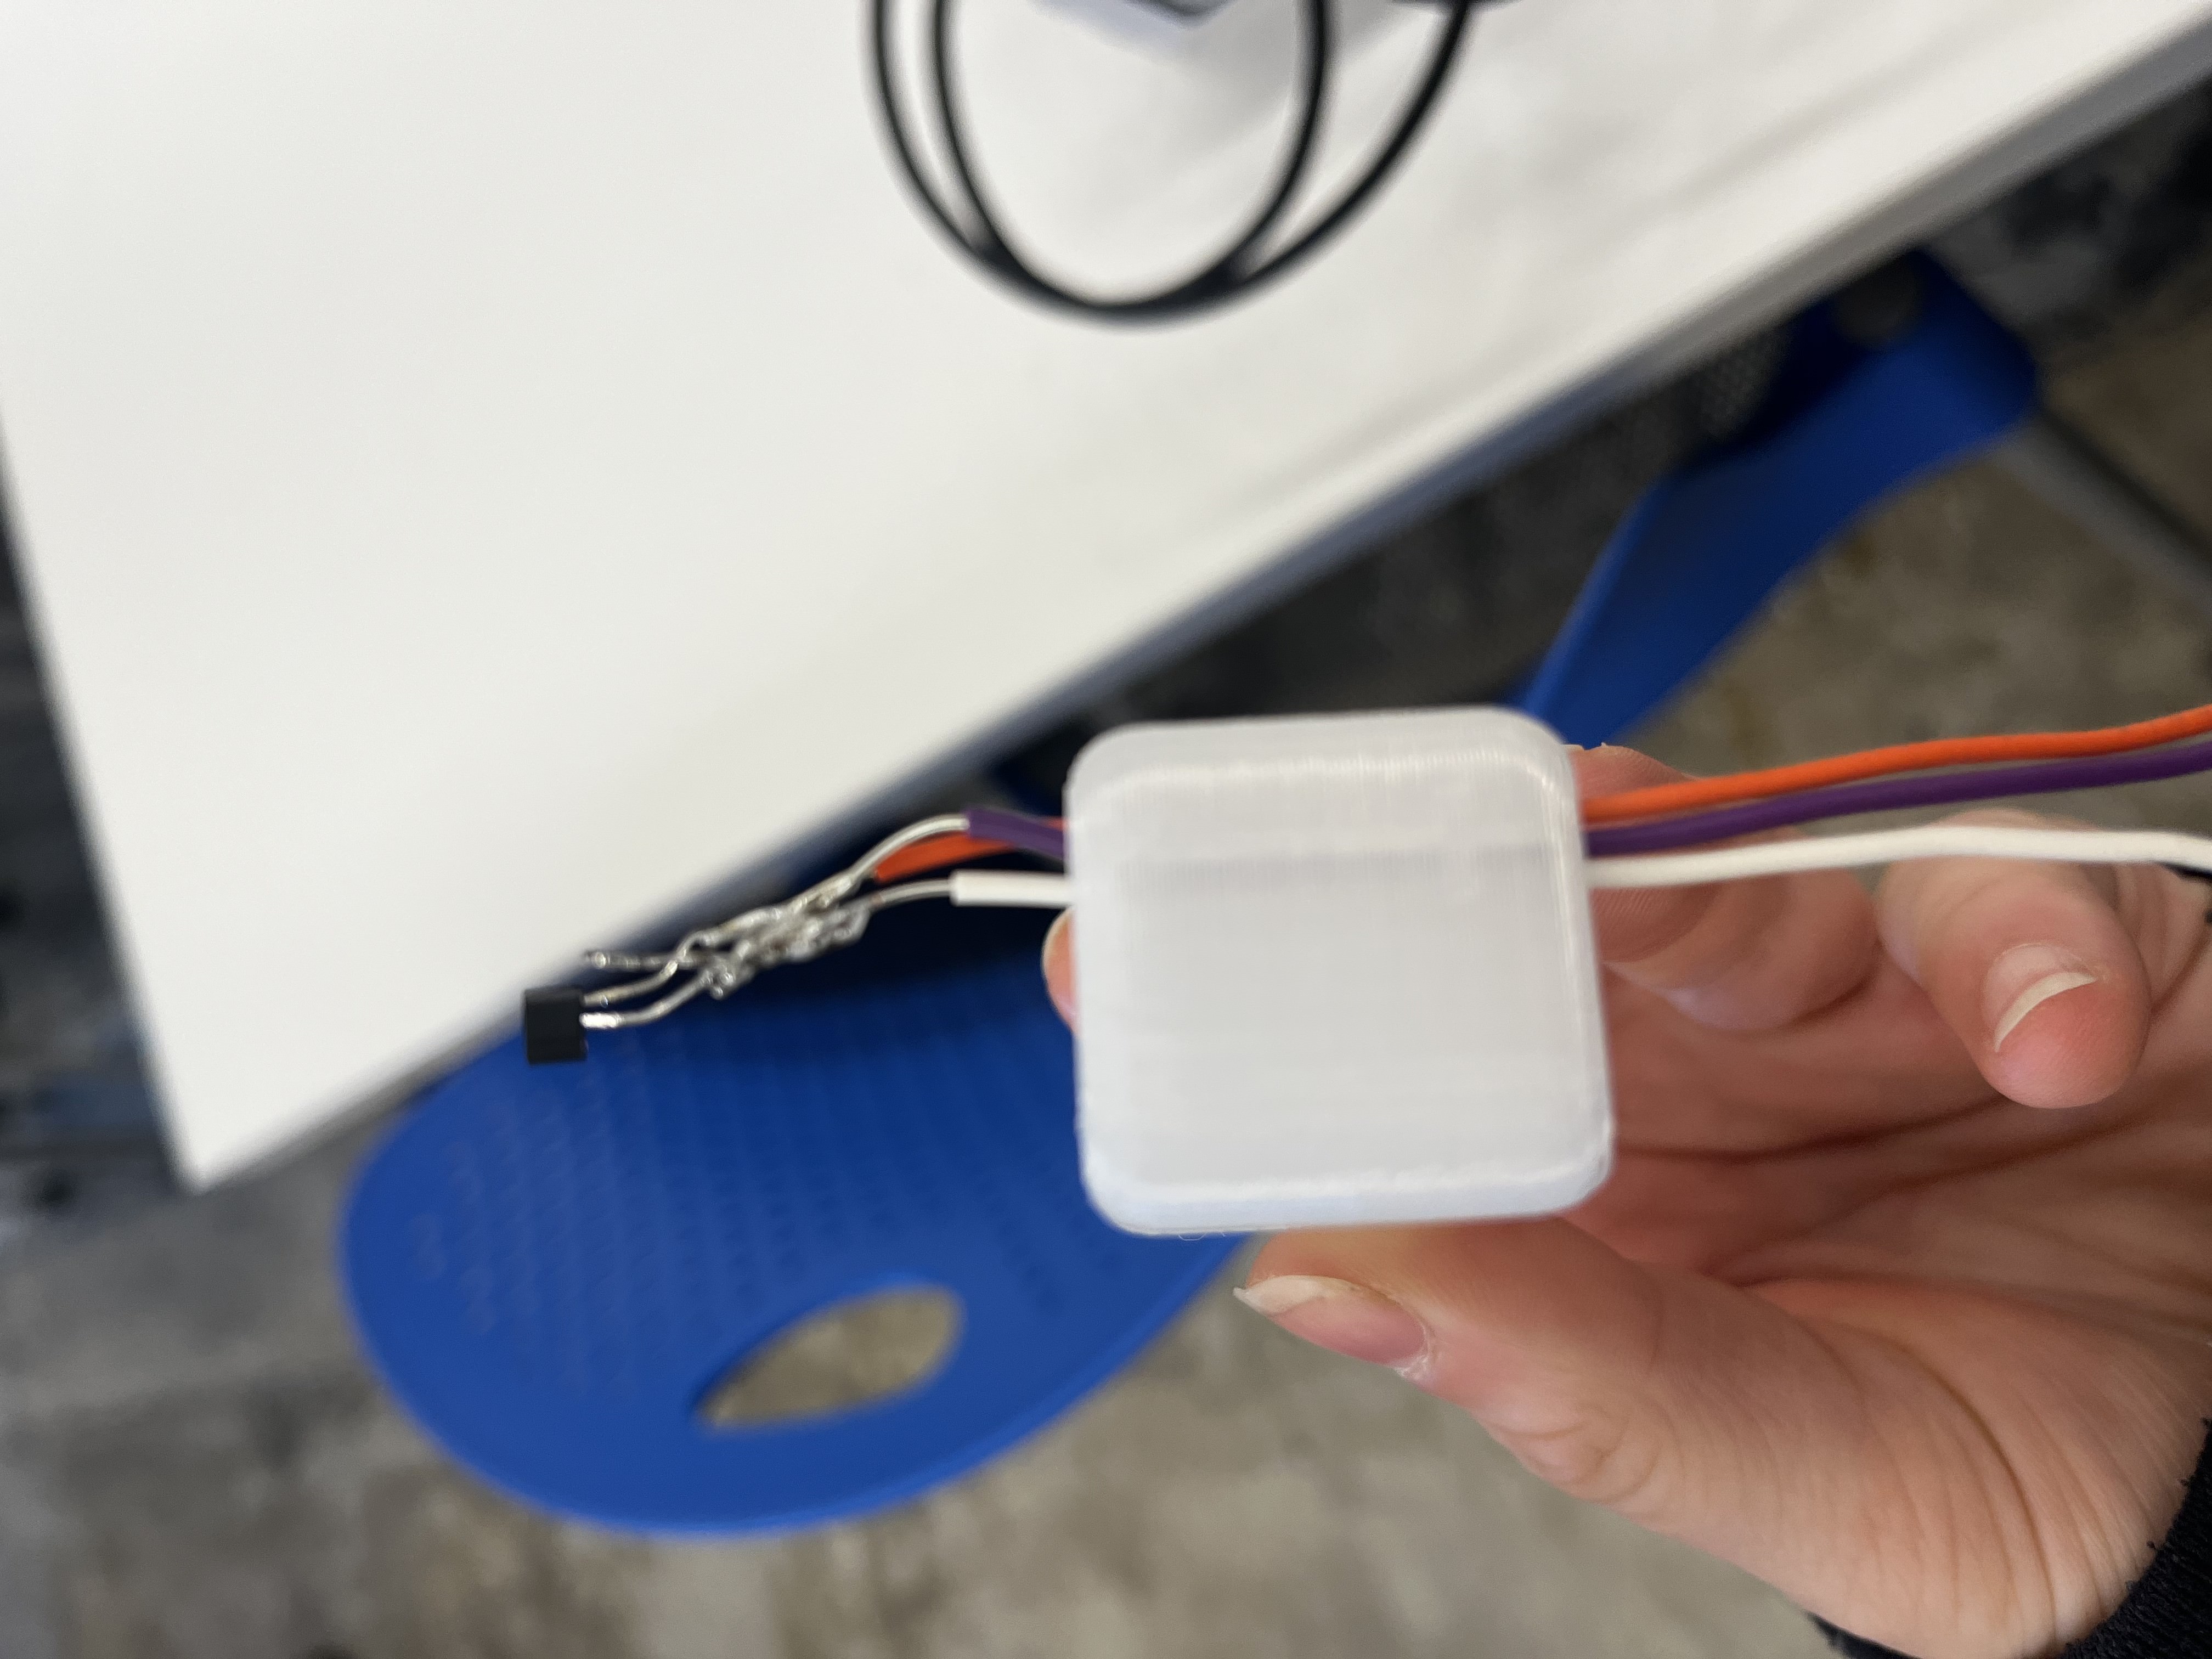
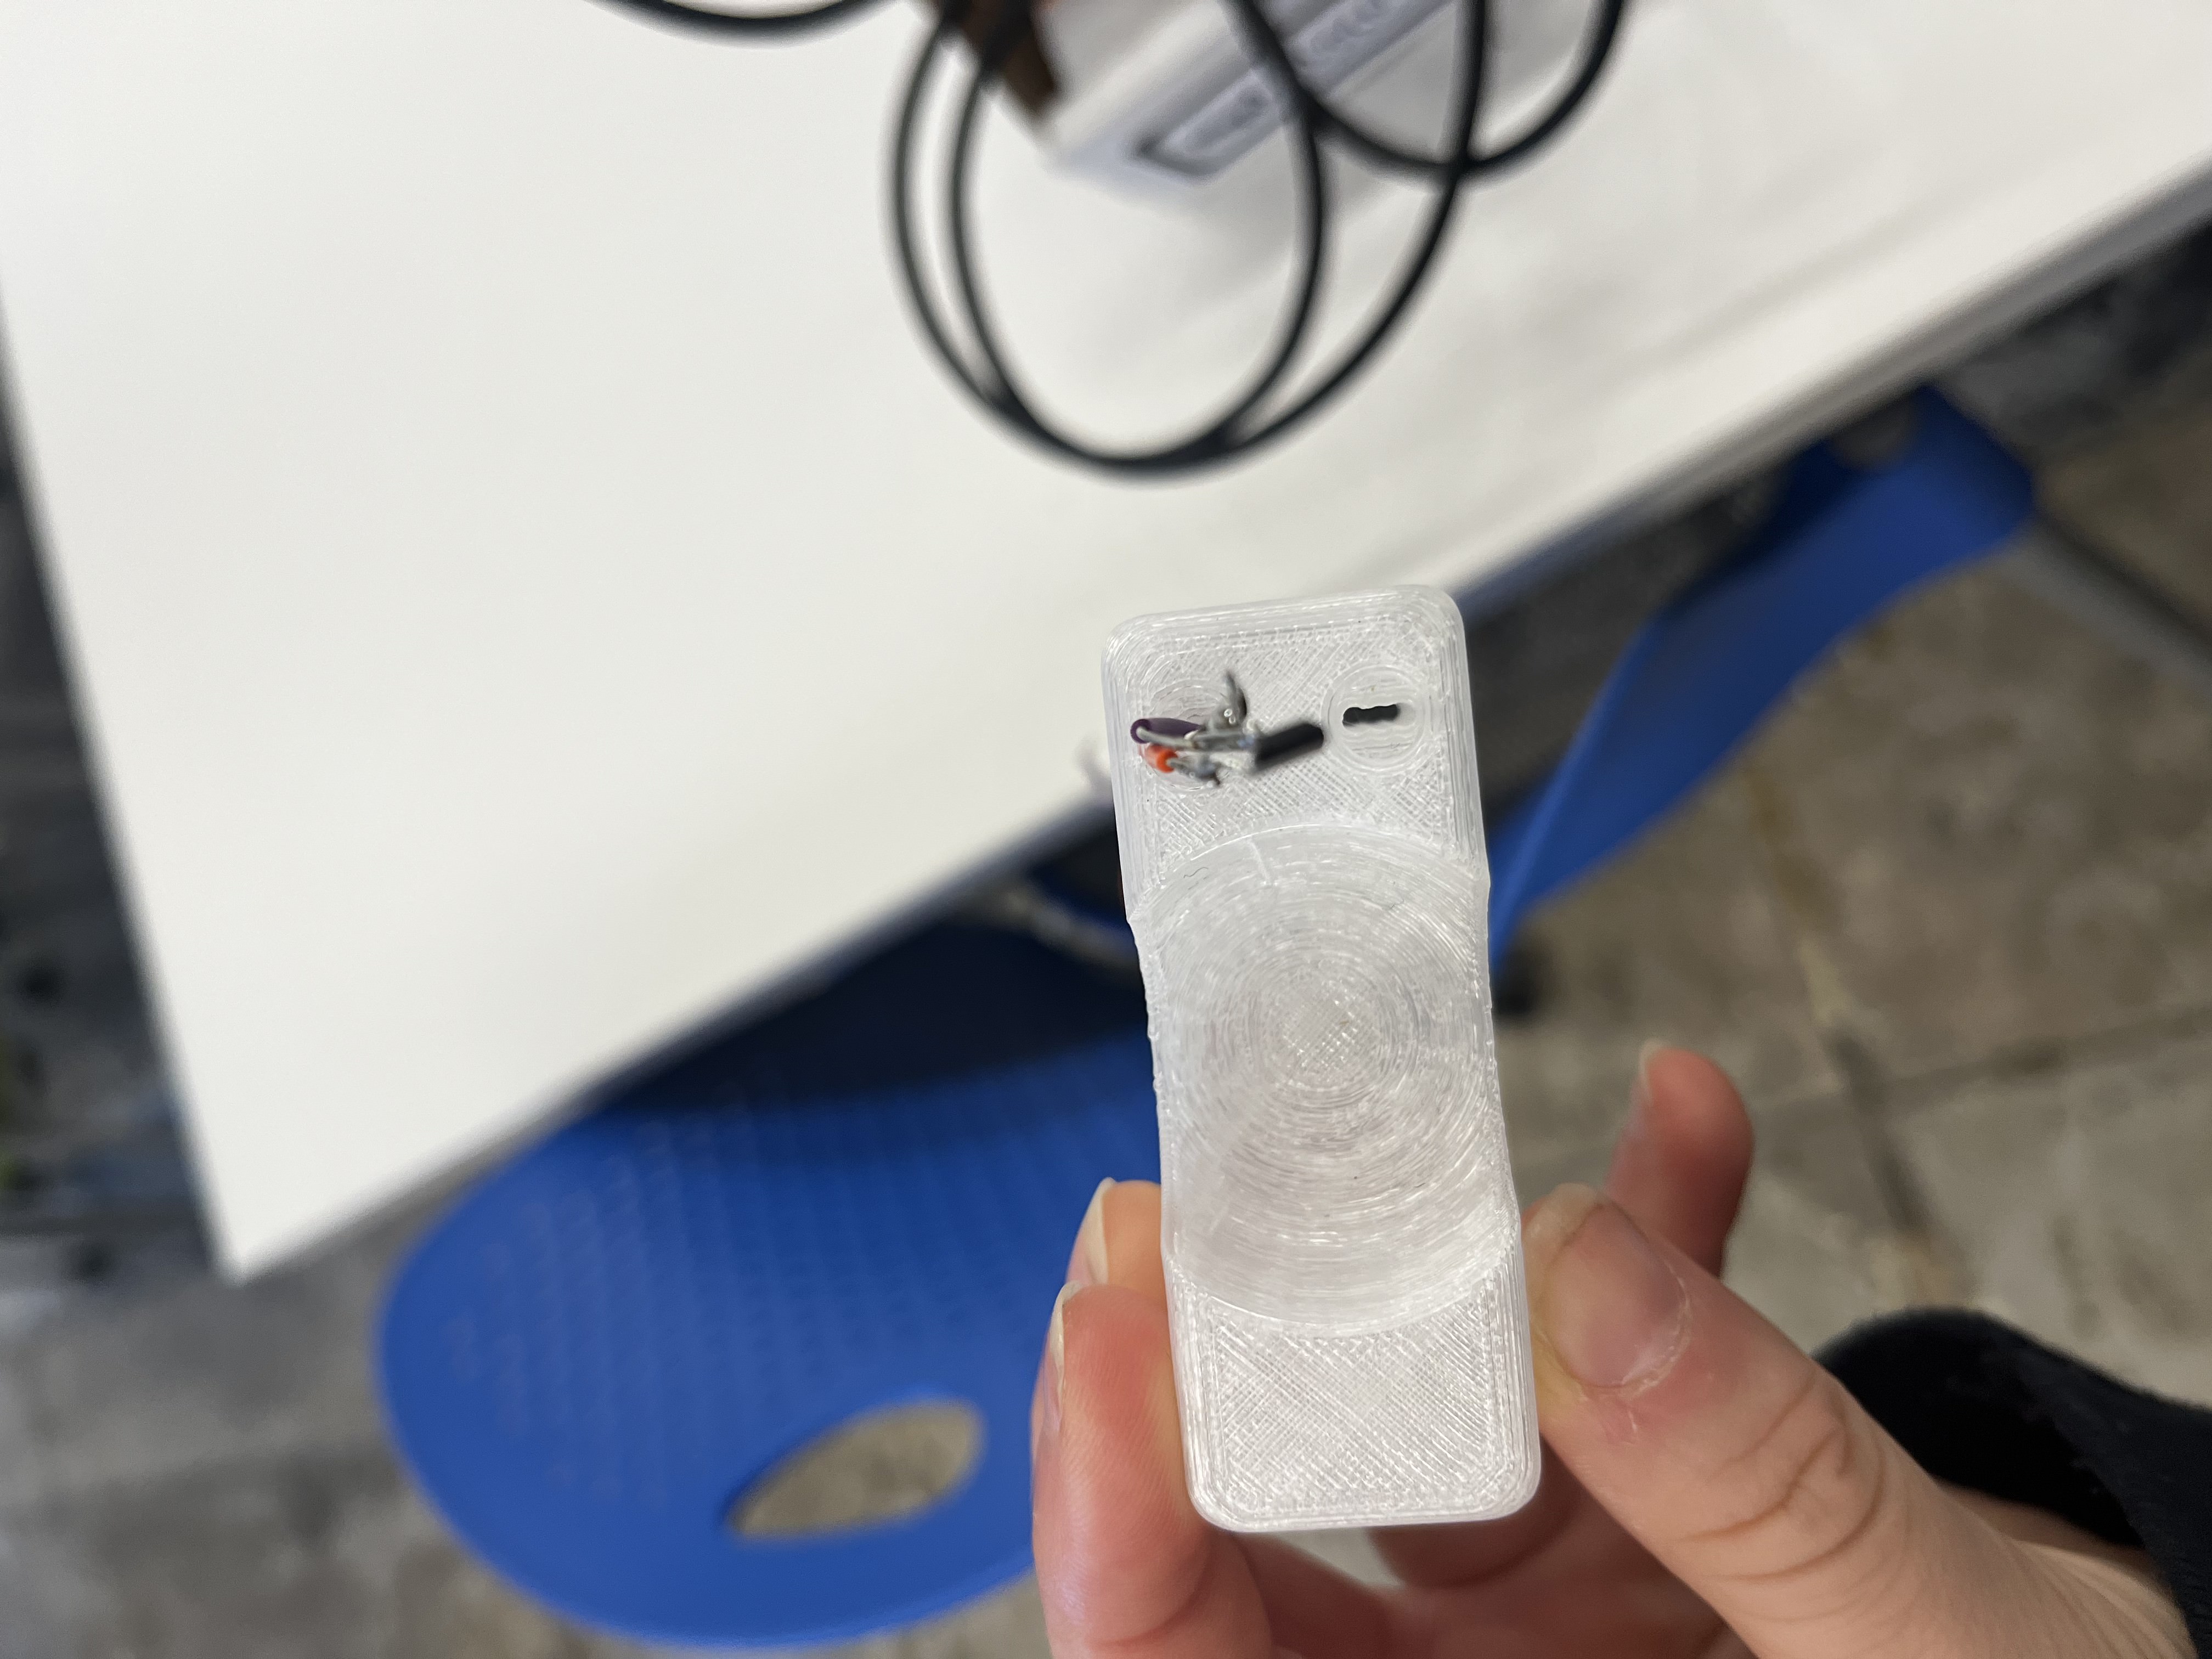
Lastly, I worked on my final project! I added an oval cutout in the middle of hall effect sensor cutouts which extends the whole way through the material. I soldered wires to the ends of the hall effect sensors and then threaded them through the oval holes in the pill box. This way, all of the circuitry can be hidden in the bottom of the device.